
THIS POST MAY CONTAIN AFFILIATE LINKS. PLEASE SEE THE DISCLOSURE POLICIES FOR DETAILS.
Make your own DIY mini pom pom Christmas wreath name tags with this easy step-by-step tutorial! It’s a simple and quick way to add a personal touch to your gift-wrapping.
Need a quick gift wrap refresher? Check out How to perfectly wrap a gift. Make your gift wrapping look amazing!

These festive gift tags are the perfect finishing touch to your Christmas gifts this year. All you need to make these gift tags are a piece of cardstock, mini pompoms, craft glue, and a bit of baker’s twine or any other type of string.
When you wrapped your present and finished your pom pom wreath gift tag, you will need a good place to hide your gift until it’s time to give it. Check out these clever ideas where to hide Christmas gifts so curious recipients won’t find them!
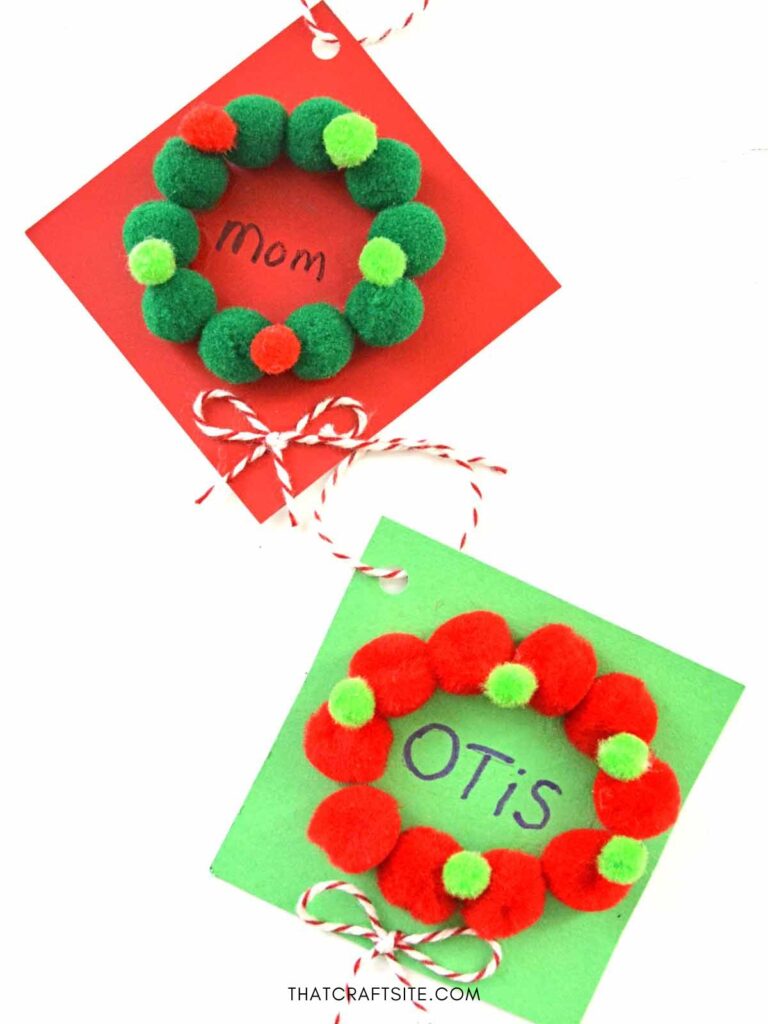
You can make these name tags with your kids or have them make them themselves if they’re old enough to handle simple craft materials like paper, scissors, and glue.
Ready to make your own holiday mini pompom name tags? Continue below for the complete instructions with step-by-step pictures!

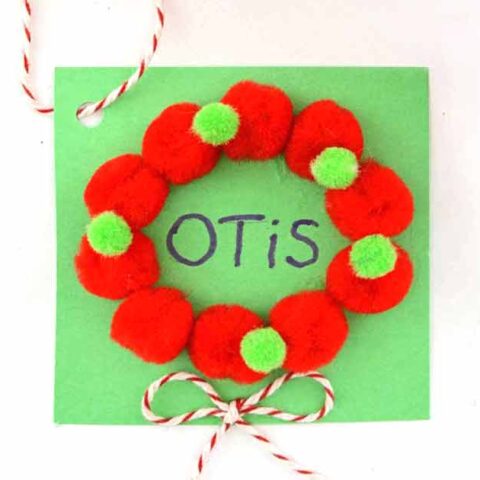
Mini Pom Pom Christmas Wreath Name Gift Tags
These mini pom pom name tags are the perfect finishing touch for your Christmas gifts.
Materials
Tools
- Scissors
- Hole puncher
- Pencil
- Marker
Instructions
- Gather all your tools and materials.
Cut a 3" × 3" gift tag shape from your cardstock.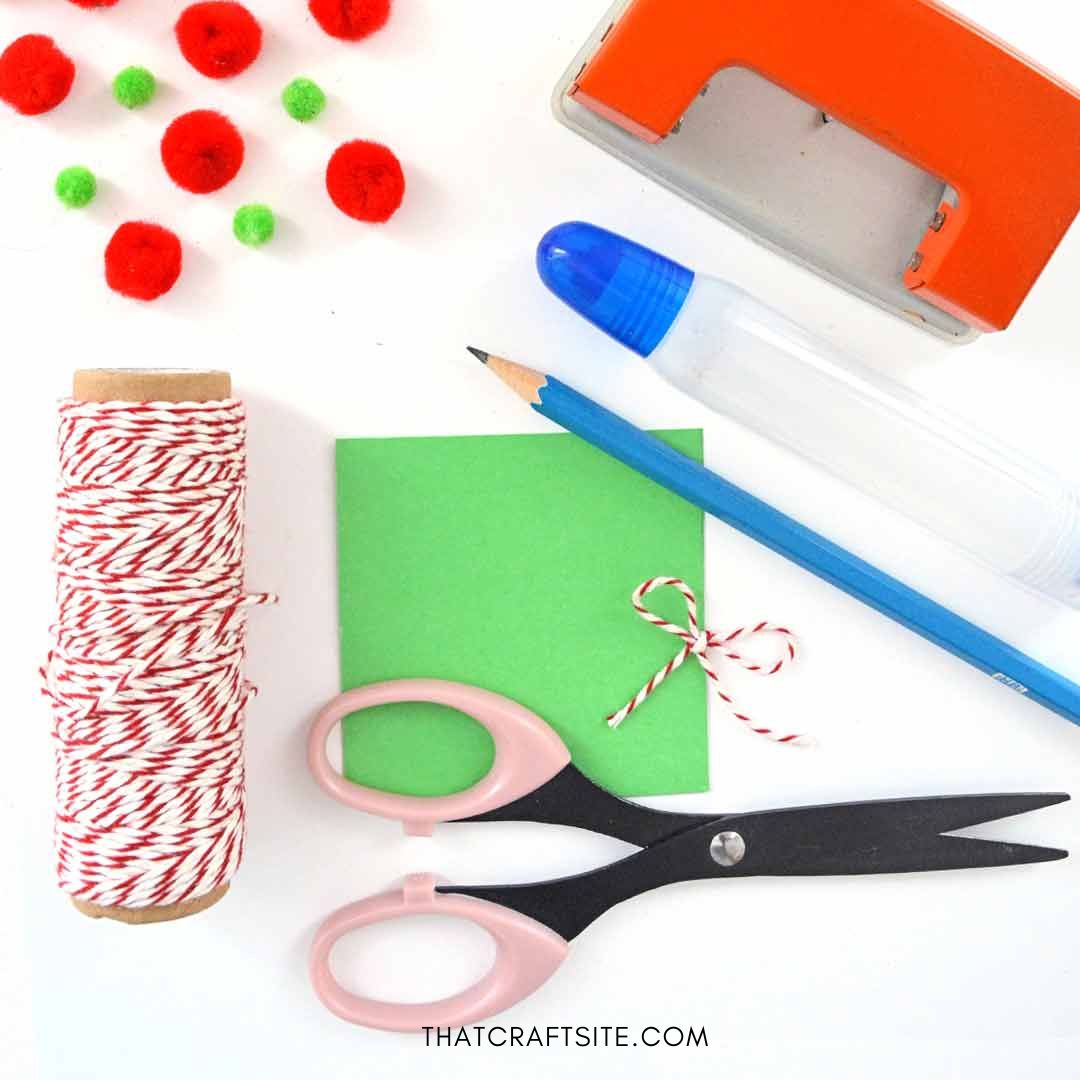

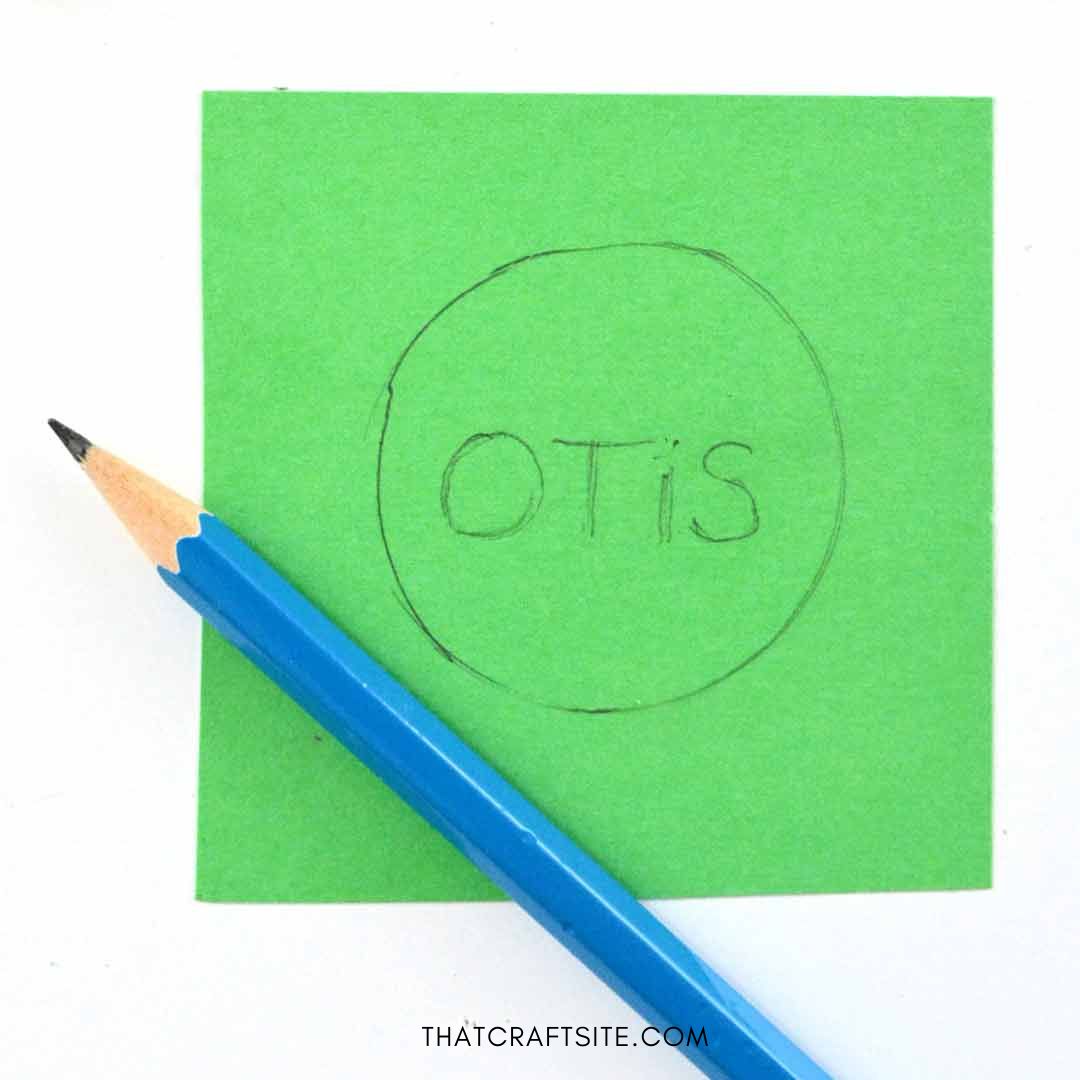
- Sketch a circle with pencil for the wreath and write the name of the recipient inside the circle.
- Glue 10 small 1/2 inch pom poms along the sketched circle.
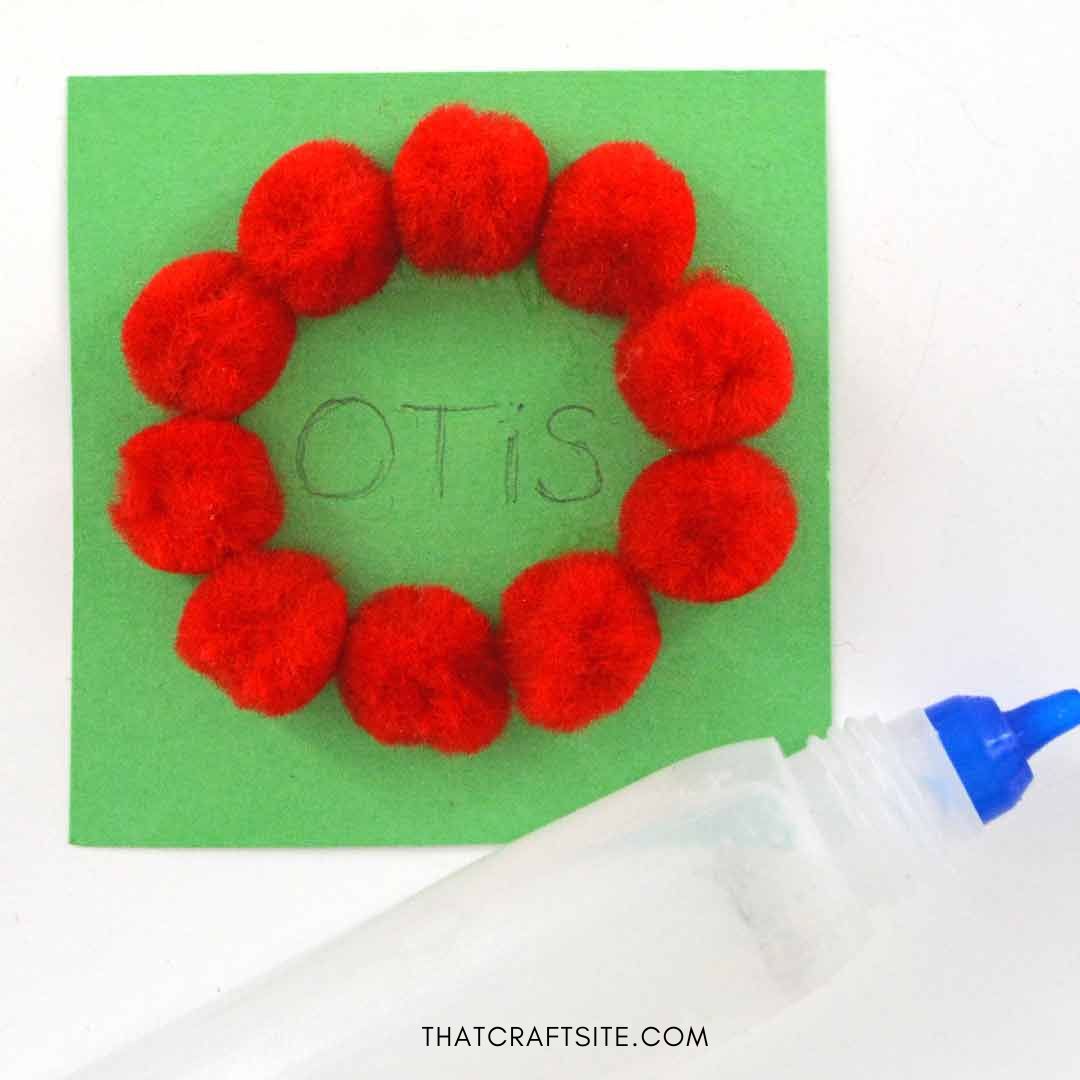
- Glue on 5 mini pom poms on top.
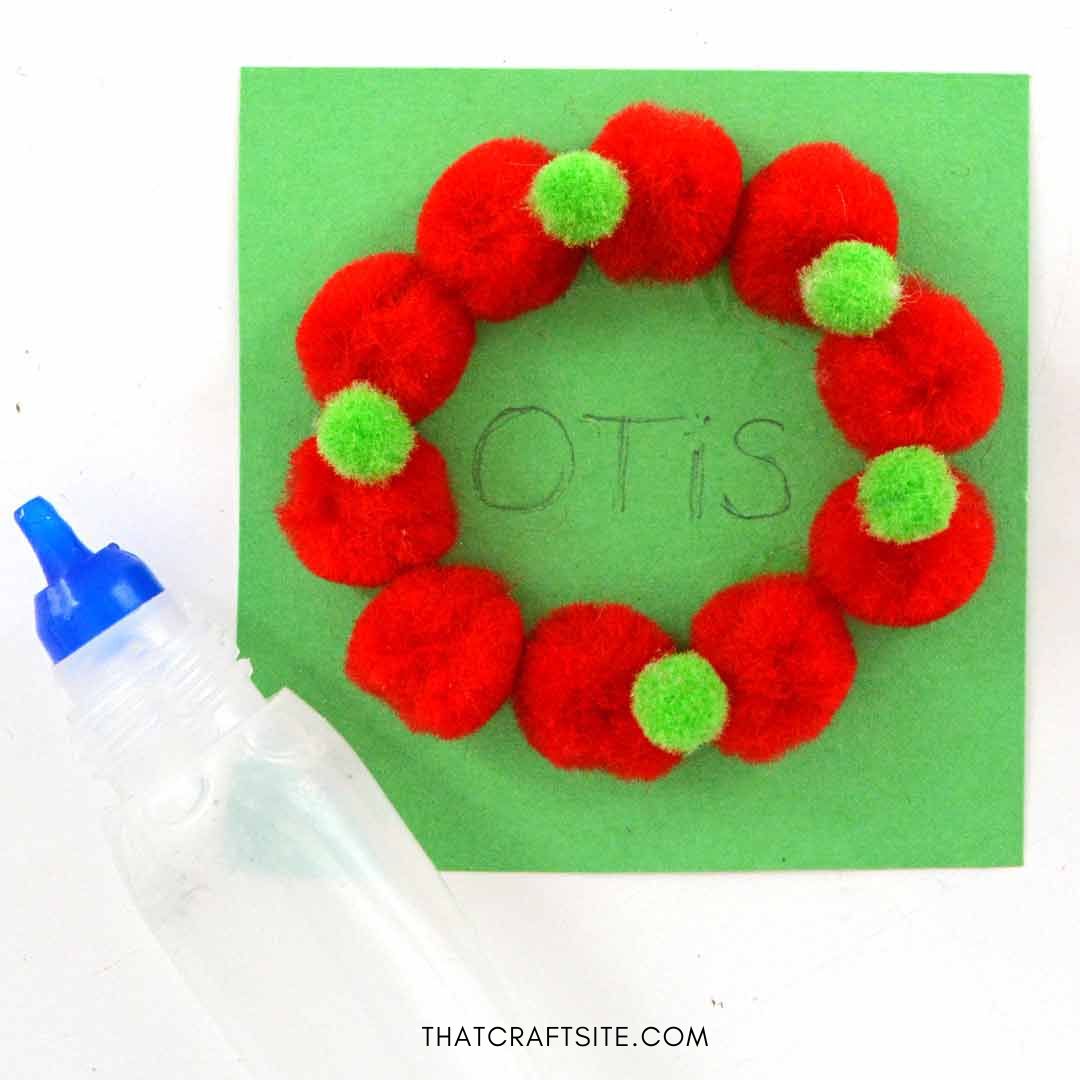
- Tie a small bow from the bakers twine and glue it below the wreath.

- Use marker to go over name inside the pom pom wreath.
Punch a hole in the top left corner and tIe bakers twine through the hole. Attach your homemade gift tag to the Christmas gift!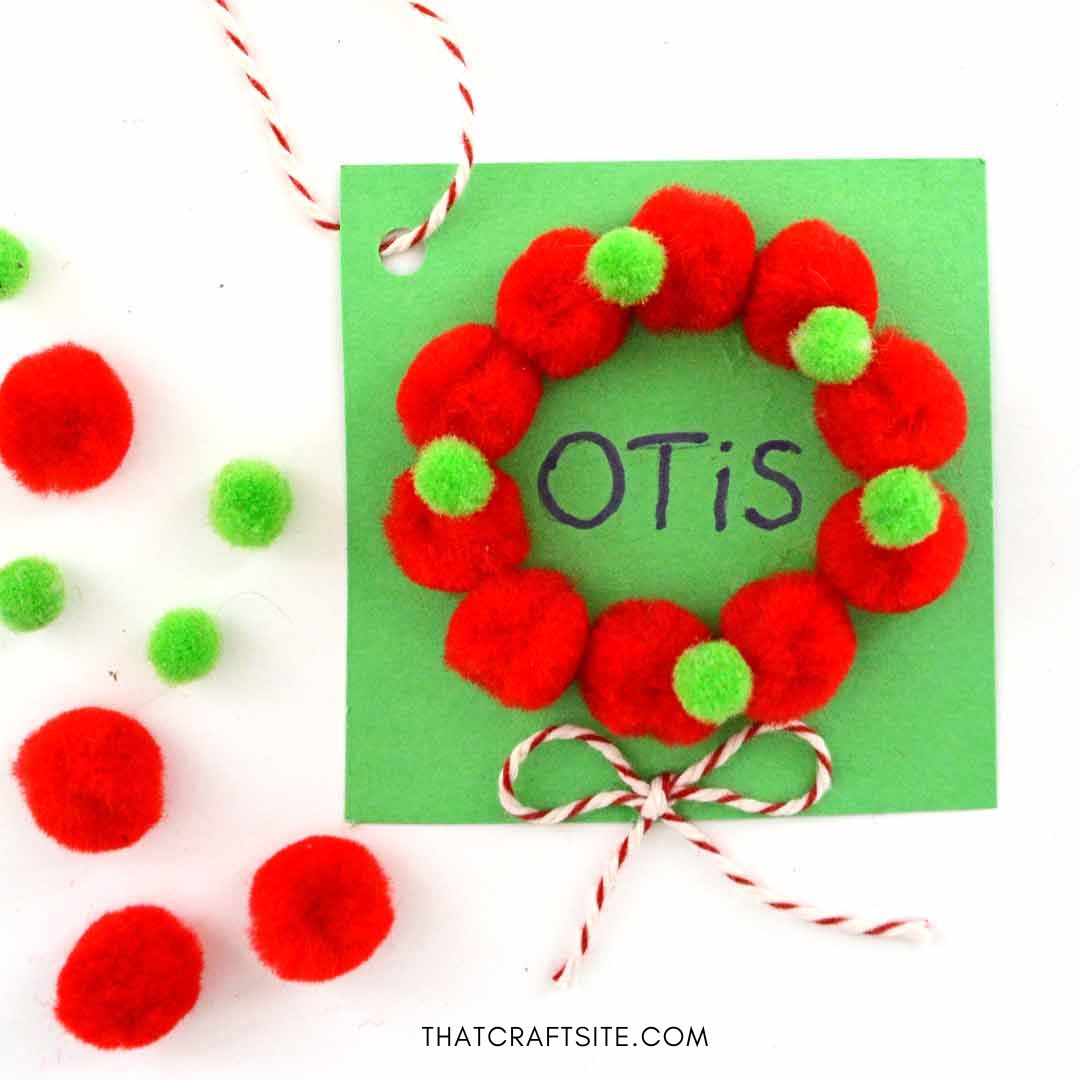

More DIY Christmas Gift Wrapping Ideas
Looking for more easy and creative Christmas craft ideas? While you’re here, make sure to check out some of these other popular DIY’s:
Thanks!