
THIS POST MAY CONTAIN AFFILIATE LINKS. PLEASE SEE THE DISCLOSURE POLICIES FOR DETAILS.
If you are looking for how to make a cute Christmas reindeer, you have come to the right place!
These DIY reindeer are a fun and creative way to craft with Pringles cans or cardboard tubes. Hide a gift inside as a surprise, or transform cylinder-shaped gifts like candles or tall cookie tins and make your gift wrapping extra special.
With just some paper, a marker, two twigs, and a pom pom you can make your own reindeer!

If you need a quick reminder how to wrap cylinder shapes, go to this easy-to-follow technique to wrap them perfectly!
Before you start wrap your Pringles can, cylinder gift, or cardboard tube in brown kraft wrapping paper and collect all your materials. That way you won’t waste time searching for anything when you are in the middle of making your reindeer.
Go on a nature walk and collect two branched-out twigs to use for the antlers. If you can’t find any near your home, you can buy artificial antler twigs online.
If you have more cardboard tubes or Pringles cans, you can also make your own DIY nutcracker as a companion! Recycle all those empty chips cans!
Ready to make your own cylinder Christmas reindeer? Continue below for the complete instructions with step-by-step pictures!

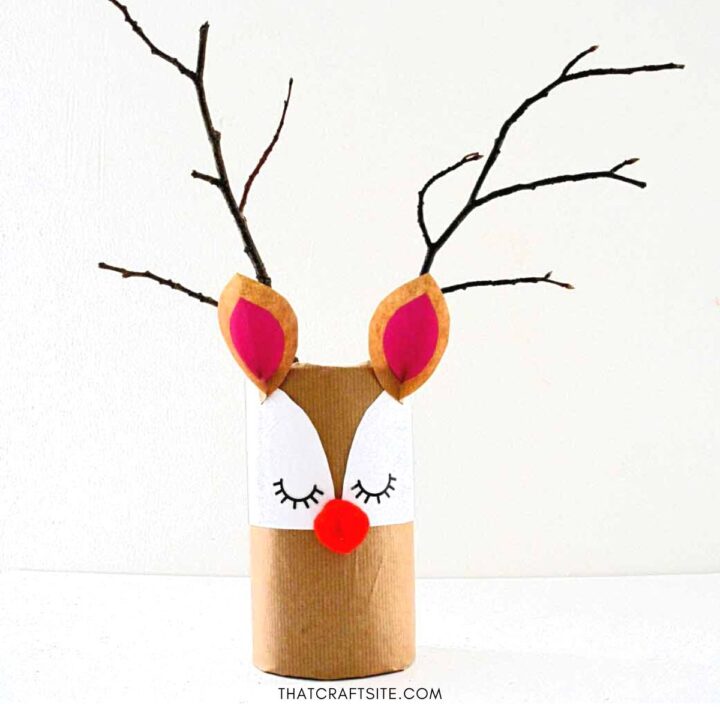
Cute DIY Christmas Reindeer with Twig Antlers
Make a cute Christmas Reindeer out of a cardboard tube or Pringles can.
This reindeer can be used as a creative way to wrap cylinder-shaped gifts, or just as a fun Christmas craft project.
Simply follow this step-by-step tutorial.
Materials
- Cylinder shaped gift or Pringles can
- Brown Kraft Wrapping Paper
- White Paper
- Pink paper
- Craft Glue
- Red Pom Pom
- 2 Branched out Twigs
- Sticky Tape
Tools
- Scissors
- Black marker
Instructions
- Wrap your cylinder-shaped gift or empty Pringles can in brown kraft paper and gather your materials to make a reindeer.
If you need it, there is help on how to wrap a cylinder-shaped gift here.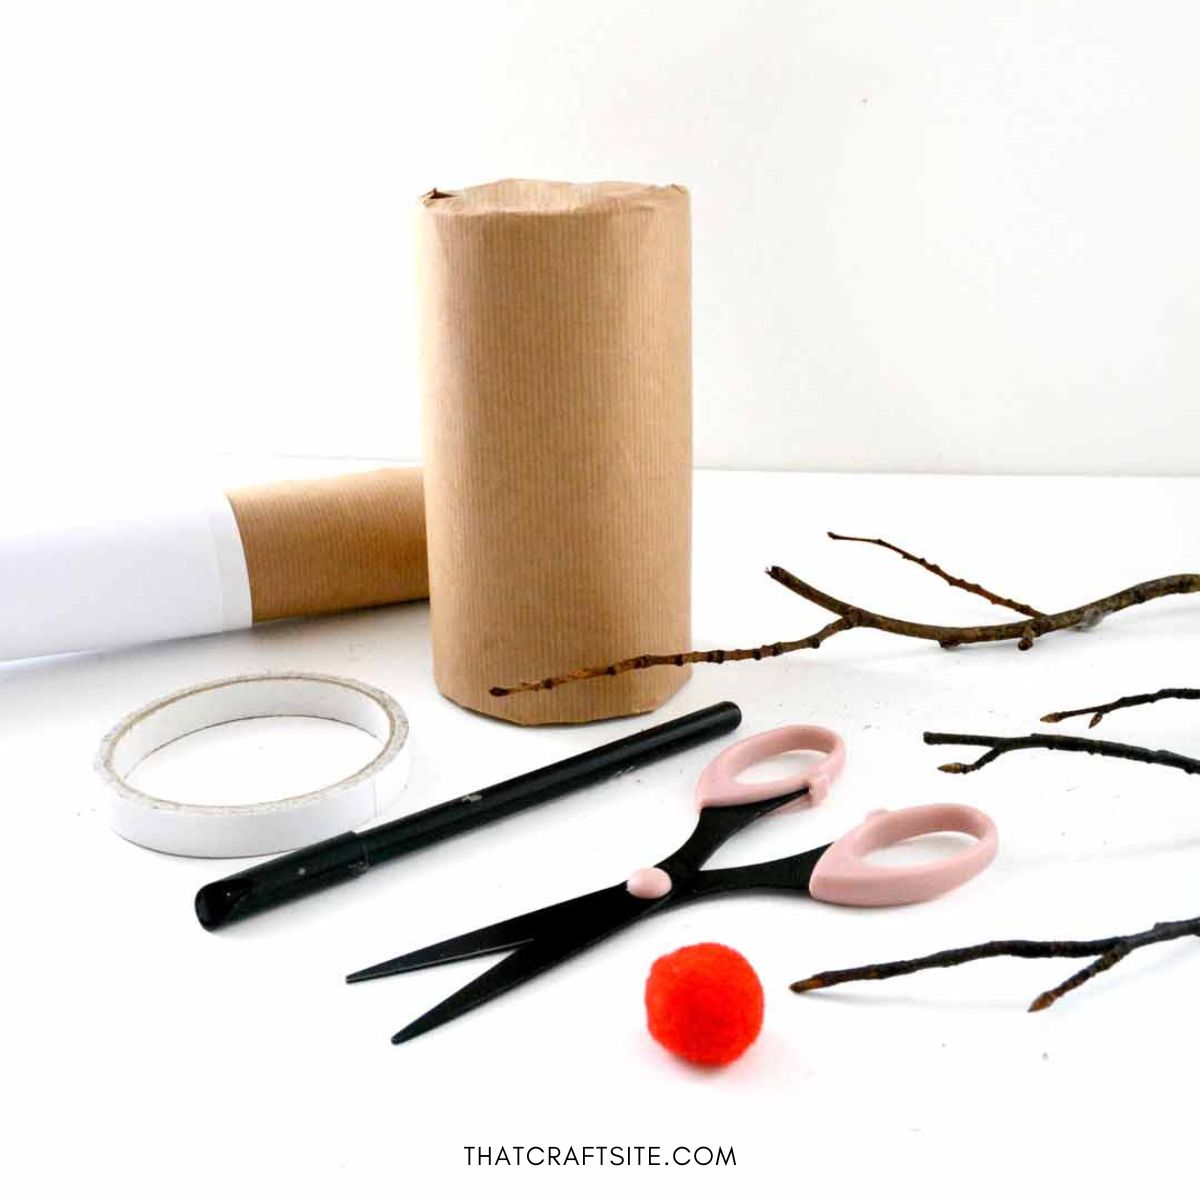

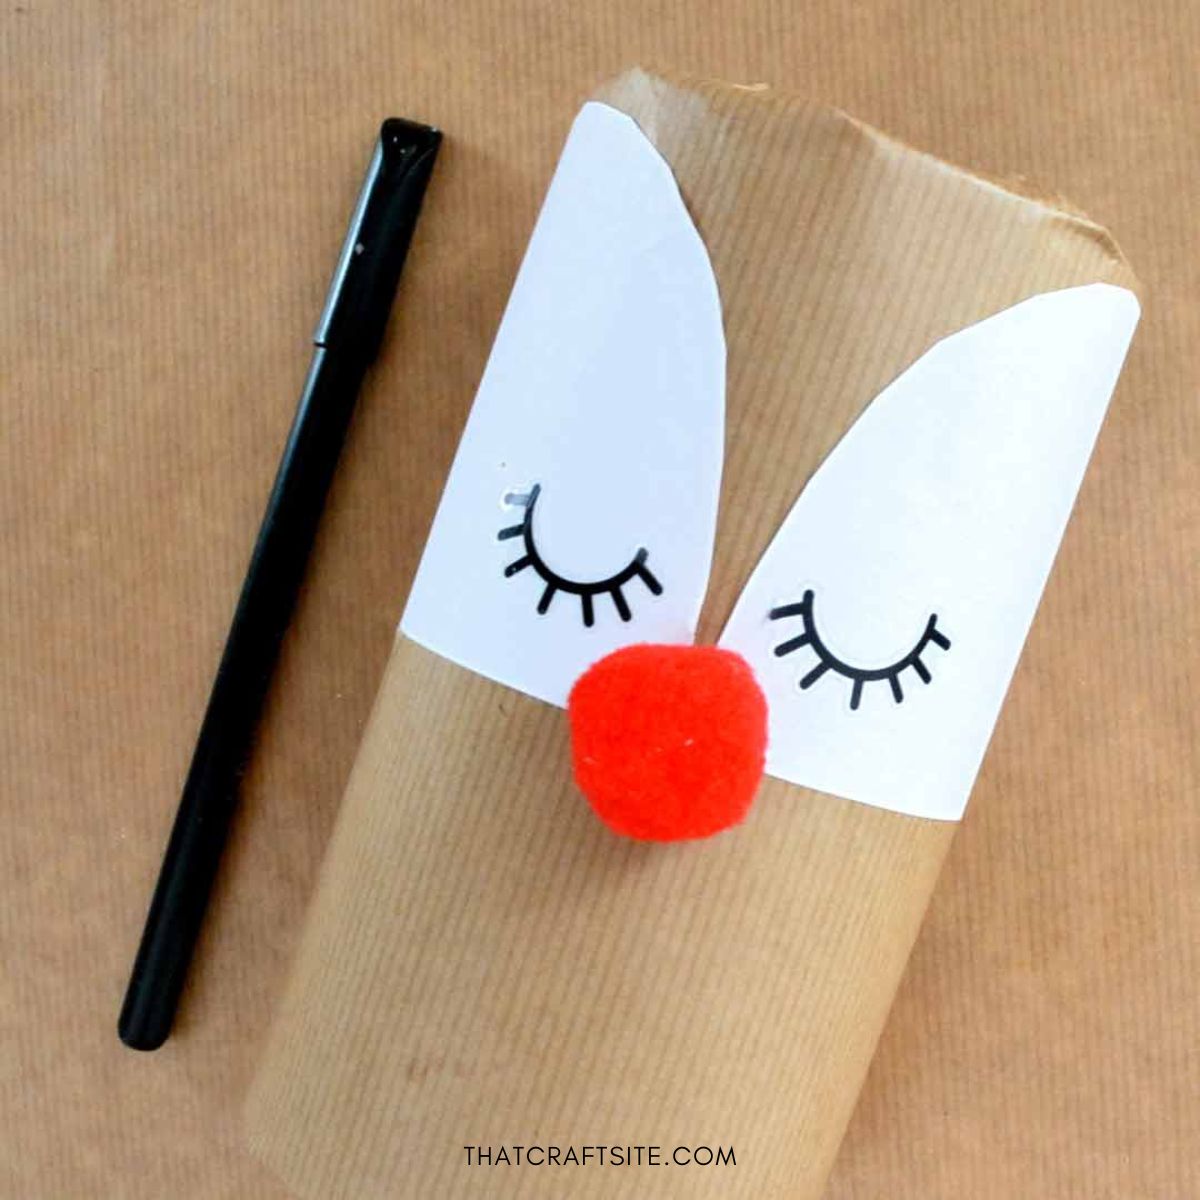
- Cut a white paper strip, long and wide enough to wrap around the top half of the cylinder.
Fold the white strip in half and cut a curve at the open end, as shown.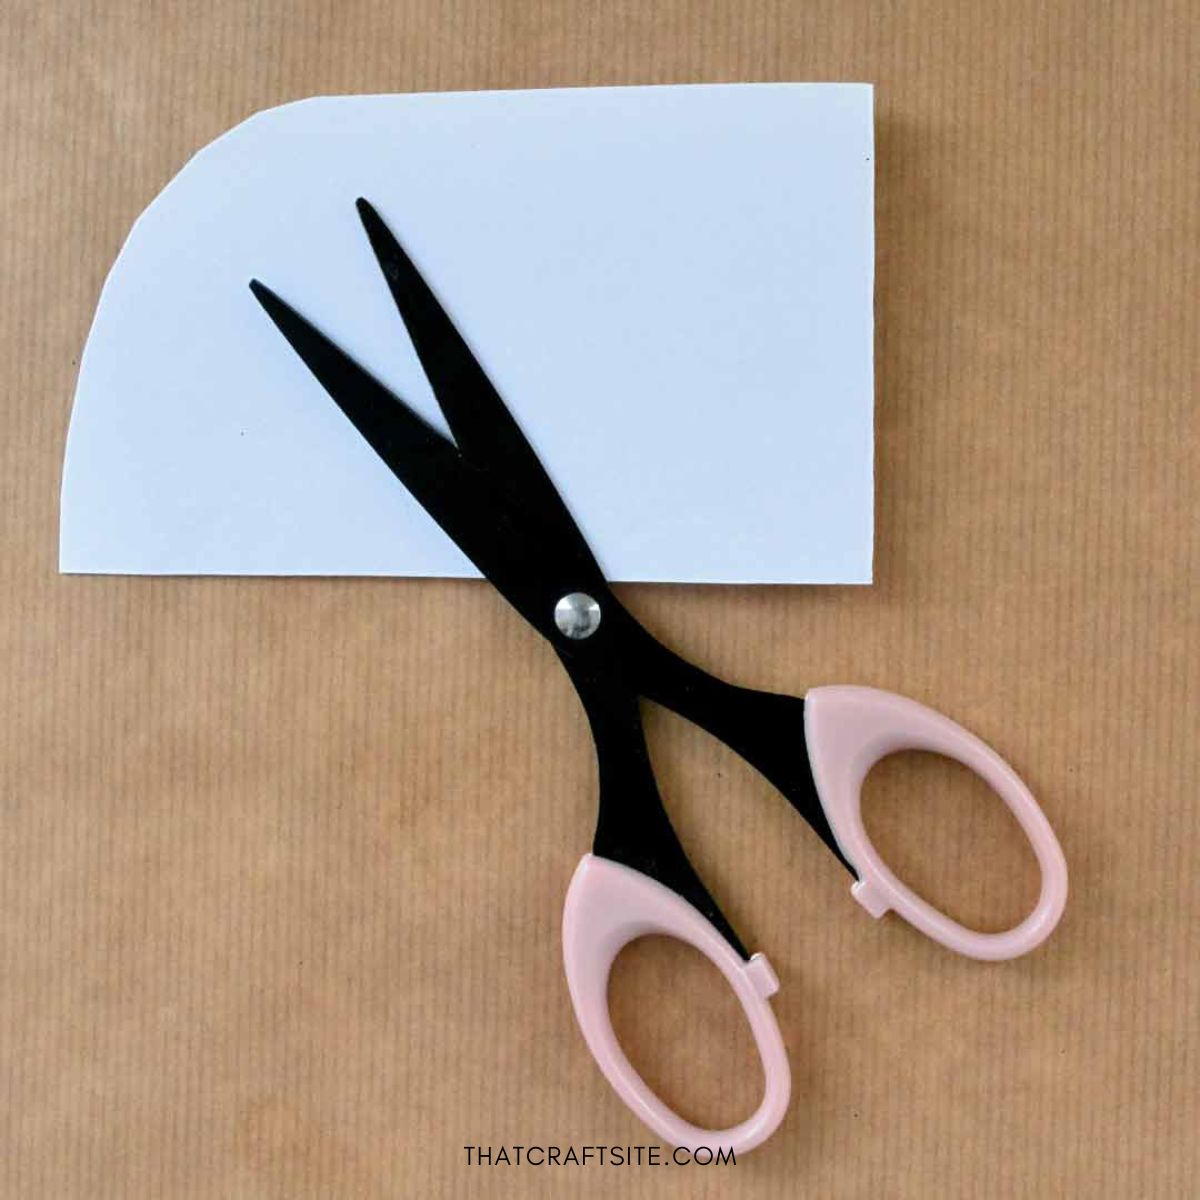
- Glue the white paper strip around the top half of the cylinder.
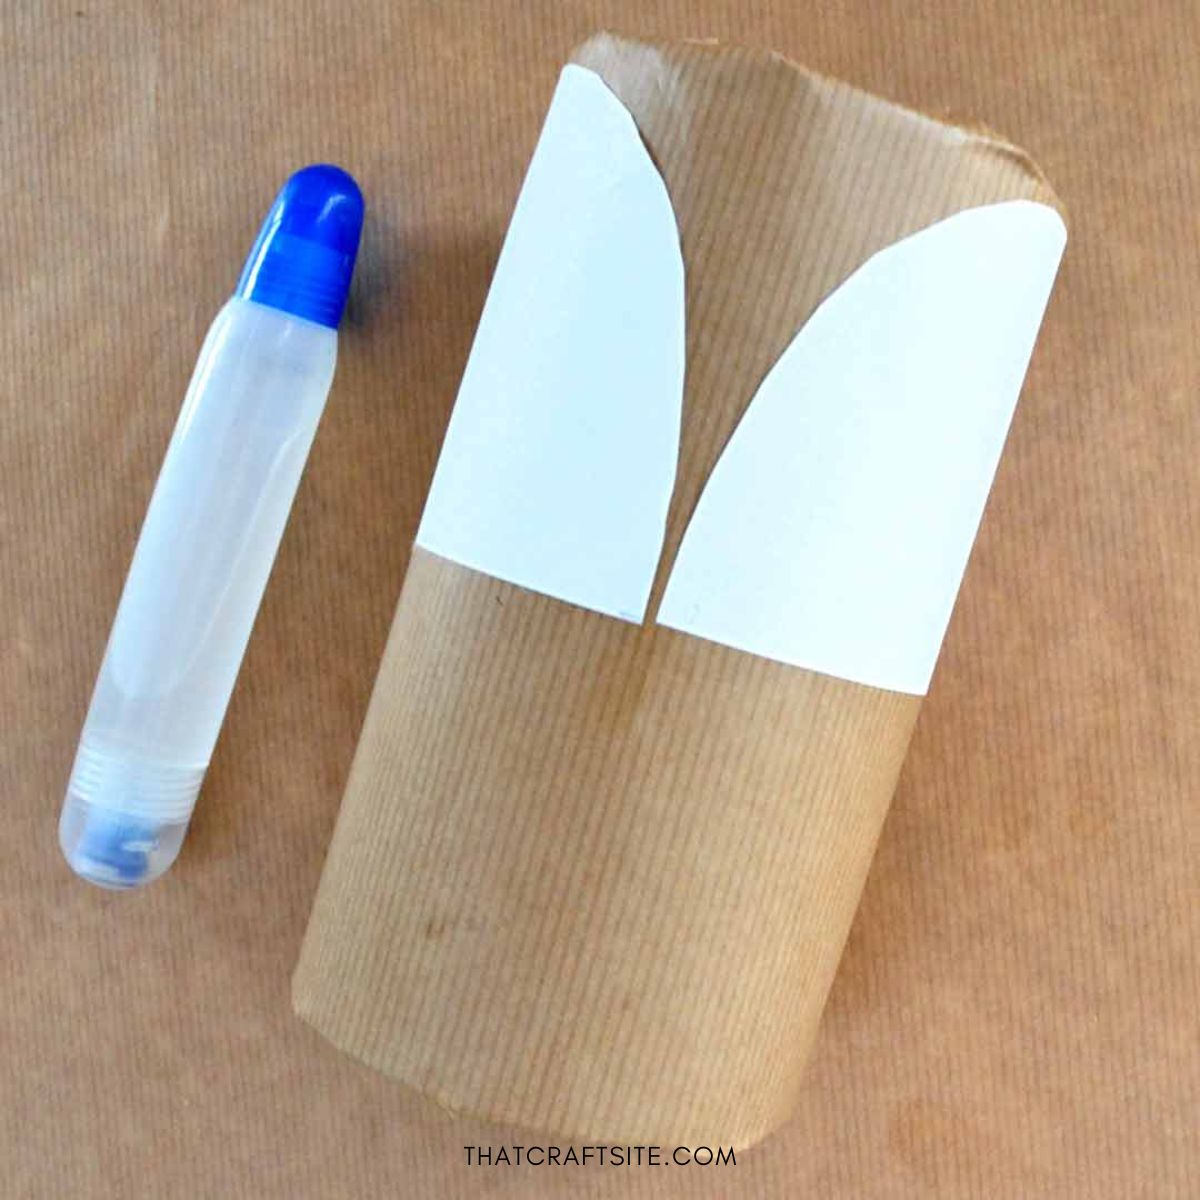
- Draw eyes and glue on a red pom pom nose.
- To make the ears: Fold two brown and two pink rectangle paper scraps in half. Cut semi-ellipse on folded edge.
Make the pink shapes a little smaller than the brown ones.
- Glue pink paper ear shapes on top of the larger brown ear shapes.
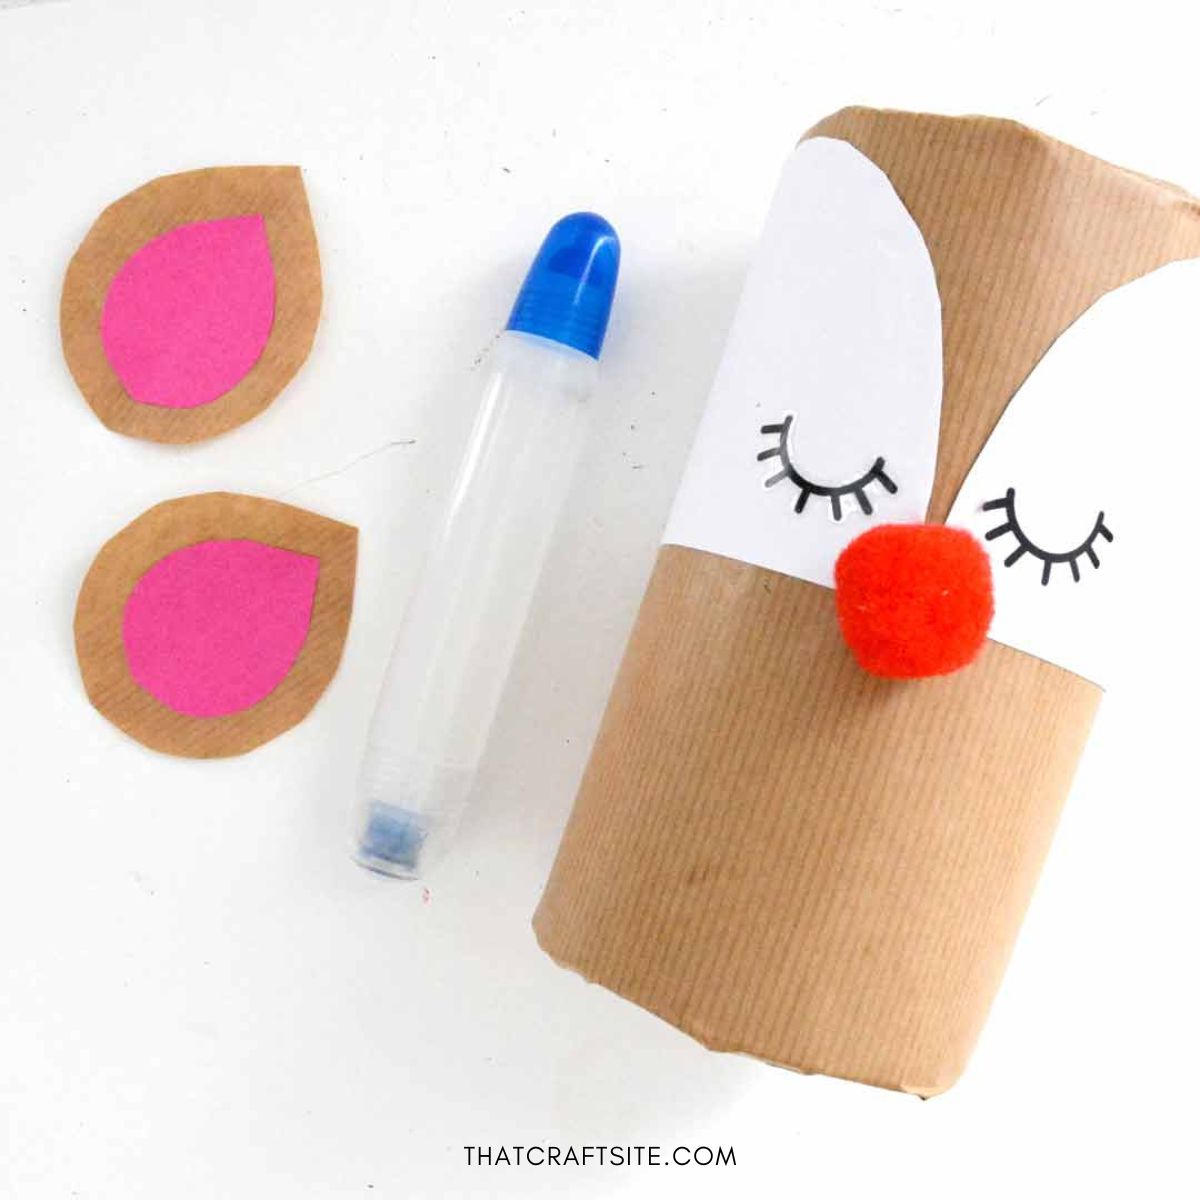
- Glue both ears on the front top edge.

- Use sticky tape to attach both branched twigs to the back of the cylinder to make the antlers. so that they poke out of the top.

For more wrapping tips, visit the complete list of all the gift-wrapping tips you will ever need. More than 60 (!) all in one place! Holiday gift wrapping has never been so simple!

More Christmas Reindeer Crafts
If you enjoyed this reindeer DIY, take a look at these other ideas for more Christmas reindeer crafts:
Thanks