
THIS POST MAY CONTAIN AFFILIATE LINKS. PLEASE SEE THE DISCLOSURE POLICIES FOR DETAILS.
Looking for a fun and simple holiday craft? These paper reindeer are perfect for Christmas decorating and can hold small treats to surprise your family or guests. This easy project is a great way to get creative with your kids and add a personal touch to your holiday season.
These paper reindeer are made by cutting and folding cardstock into cone shapes for the head and body, adding antlers, ears, and a nose. With just a few supplies, you’ll have adorable reindeer ready to display or share.

A Fun Craft for All Ages
This paper reindeer craft is simple enough for kids to make and fun for adults to join in. It’s a great way to spend quality time together while creating festive decorations.
My five-year-old made some interesting multi-colored reindeer choosing from the card stock paper pack as he pleased. I helped him with some of the cutting of the pieces, but he was a gluing master.
Plus, the reindeer’s “head” can hold small Christmas candies or treats, making them both decorative and functional. When filled with small treats, these are perfect to place next to the plates on the Christmas dinner table.
Ready to make your own paper Christmas reindeer? Continue below for the complete instructions with step-by-step pictures!


How to make a Paper Christmas Reindeer
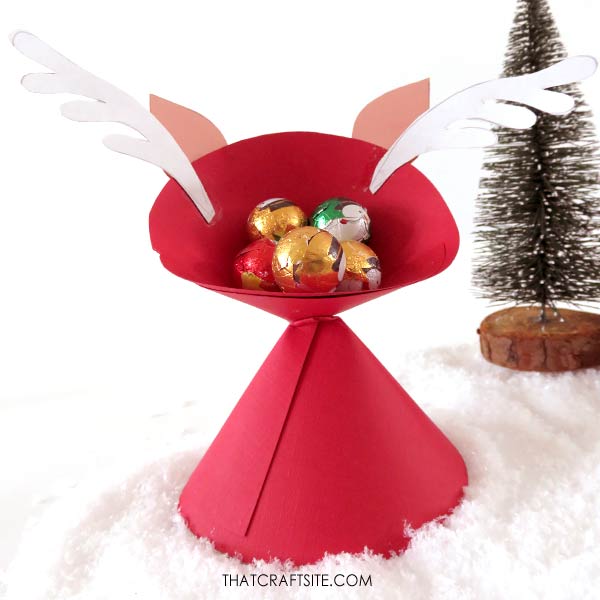
Make your own paper reindeer. Super easy to make, this is a great Christmas craft to do with the kids, and the best thing is, these Paper Reindeer double as party-favor candy holders!
Materials
- Colored cardstock paper
- Craft Glue
- Marker
- Clothespin (optional)
- Small Christmas treats (optional)
Tools
- Scissors
Instructions
- Make the Head Cone: Draw a 4.5-inch diameter circle on the cardstock (about the size of a DVD).
Cut a straight line from the edge to the center of the circle.
Overlap the edges to form a cone shape and glue them together. Use a clothespin to hold it while drying, if needed.

- Add Features to the Head: Cut two antlers, two ears, and a small round nose from the cardstock as the pattern shapes show.
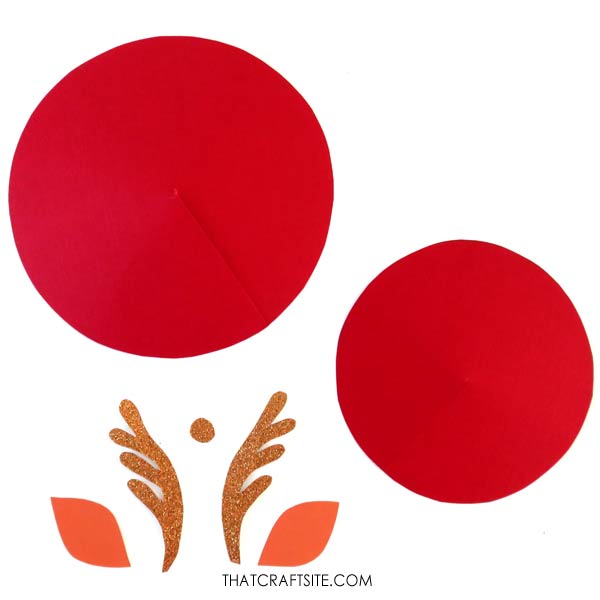
Glue the antlers to the inside of the head cone and the ears to the outside next to the antlers. Attach the nose to the tip of the cone and use a marker to draw on the eyes. - Make the Body Cone: Draw a 6-inch diameter circle on the cardstock. Cut a straight line to the center of the circle, then overlap the edges to form a cone and glue. Fold down the tip of the body cone about 0.5 inches to create a flat surface for attaching the head.
- Assemble the Reindeer: Glue the head cone onto the folded tip of the body cone at a slight angle.

- Fill the head cone with small Christmas treats if desired.
If you enjoyed this project, you might also like to make these cute pinecone elves or painted Santa peg dolls for your holiday decorations. The step-by-step tutorials show you exactly how to make them.
