
THIS POST MAY CONTAIN AFFILIATE LINKS. PLEASE SEE THE DISCLOSURE POLICIES FOR DETAILS.
It’s time to grab all those old magazines and turn them into wonderful gallery wall art! It’s quick to make and you won’t need a lot of other supplies.
In this easy step-by-step tutorial, I’ll show you how to make your own gallery-worthy collage.

Am I the only one who loves spending time flipping through magazines looking for perfect images?
DIY Magazine Gallery Wall Art
Supplies you’ll need:
- Images from old magazines
- Square canvas (size of your choice)
- Scissors
- Ruler
- Glue
Step 1: Gather Your Materials
Start by collecting images from old magazines that inspire you. Look for photographs, illustrations, or patterns that match your aesthetic and the overall theme of your space.
Once you’ve gathered your images, gather the rest of your supplies: a square canvas, scissors, ruler, and glue.

Step 2: Trim Your Images
Using scissors and a ruler, cut uniform squares so your magazine images fit the size of your canvas.
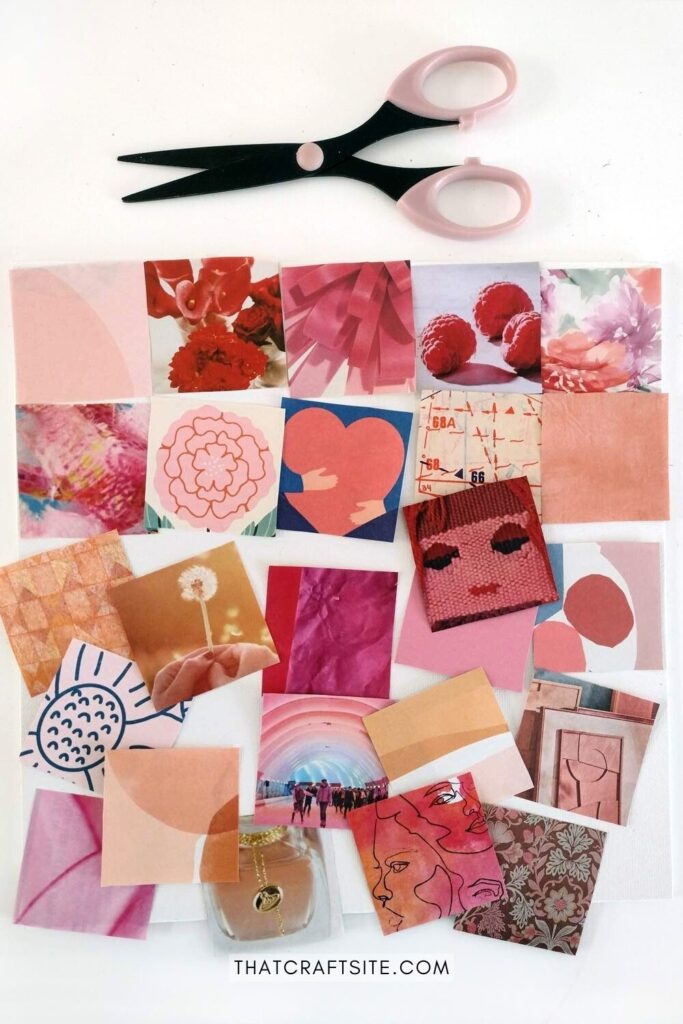
I like to use a piece of see-through plastic (cut from a plastic folder) in the size I want my collage squares to be. With this piece, I go over my images to find the most interesting spot to cut and easily cut all the squares the same size without having to measure them all.

Step 3: Arrange Your Collage
Lay out your trimmed magazine images and experiment with different arrangements. Consider color balance, image placement, and overall cohesion. Try different compositions until you find a layout that you love.

Step 4: Glue Images to Canvas
Once you’re satisfied with your collage layout, glue the images to your canvas. Apply a thin layer of glue to the back of each image and carefully press it onto the canvas, smoothing out any wrinkles or air bubbles.
Start from one corner, gradually working your way across the canvas.
Allow to dry completely before handling or hanging. You can create a whole gallery wall by grouping multiple canvases together. That would look amazing!
