
THIS POST MAY CONTAIN AFFILIATE LINKS. PLEASE SEE THE DISCLOSURE POLICIES FOR DETAILS.
This DIY collage project is a great way to repurpose old magazines or leftover wrapping paper and turn them into wall art!
It is also a perfect activity to get the kids involved. Work on it together, or have them make it themselves if they’re old enough to handle simple craft materials like paper, scissors, and glue.
In this step-by-step guide, I’ll show you how easy it is to make your own Monstera leaf collage to hang on your wall.
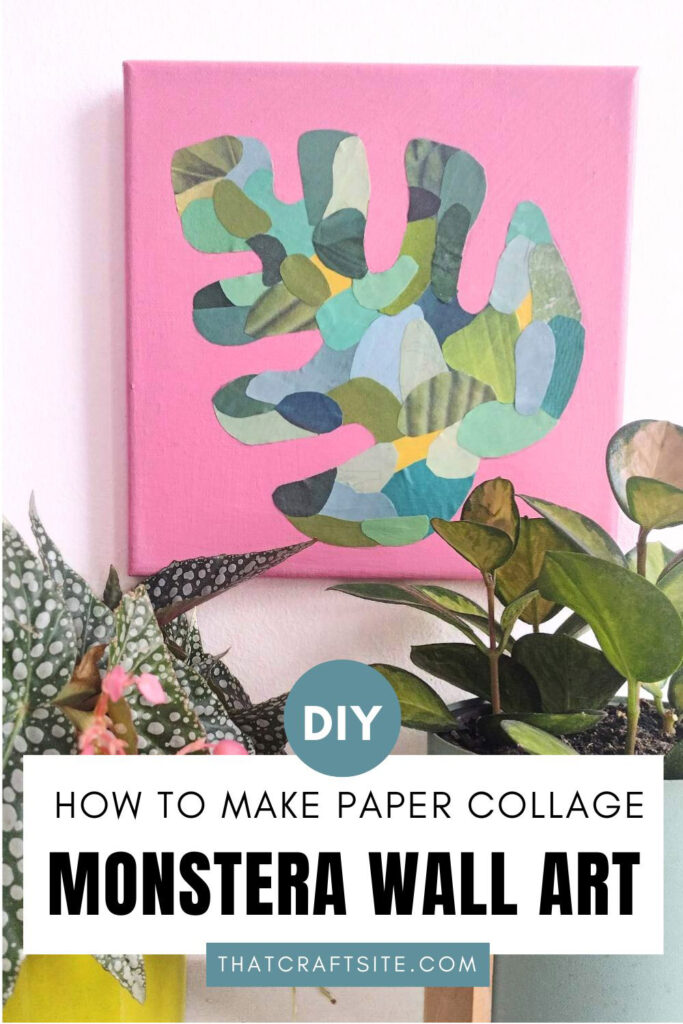
How to Make Monstera Leaf Collage Art
Supplies You’ll Need:
- Old magazines
- Canvas
- Paint
- Paintbrush
- Pencil
- Scissors
- Gluestick
- Mod Podge
Step 1: Paint the Canvas
Paint the canvas in the color of your choice. I like the pink/green color combination, but you can paint it any color.

Step 2: Cut Paper in Small Pieces
While you wait for the paint to dry flip through your old magazines. Cut or tear out areas with different green tones.
Cut the green paper scraps into smaller pieces. Don’t worry about cutting perfect shapes. At this stage, I just cut them into triangle and rectangle-type shapes.

Step 3: Draw the Monstera Leaf
When the paint on the canvas is dry, use a pencil to draw the outline of the leaf shape on the canvas.
An easy way to draw a Monstera leaf is by starting with a ‘regular’ basic leaf shape, and then adding three deep indentations on each side opposite each other.

Step 4: Position Scraps of Paper.
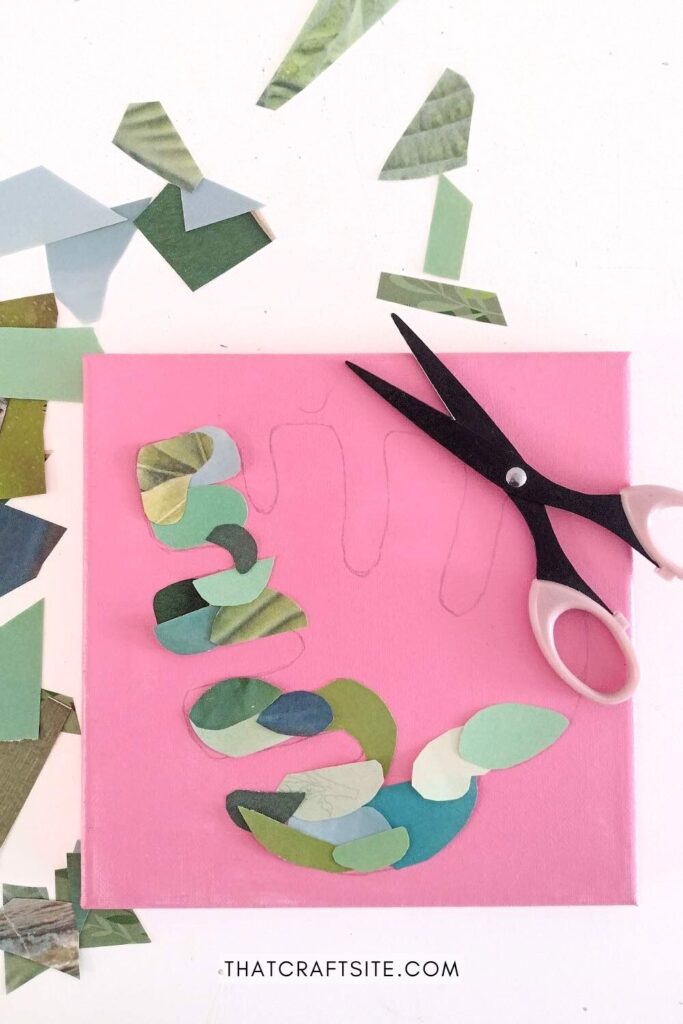
Once you have a pile of green paper scraps, it’s time to start assembling your collage. Place the pieces of paper inside the Monstera leaf. Cut edges where needed to round them out and follow the outline. Overlap the paper pieces slightly to create depth and dimension.
Step 5: Glue Them on the Canvas
Apply glue to the back of each paper piece using a gluestick, then place them onto the canvas, following the outline of the monstera leaf shape you drew earlier.
Continue gluing all the paper pieces to fill the entire leaf shape. If you notice any gaps or areas that need more color, simply cut or tear out additional paper bits and glue them into place.

Step 6: Seal with Mod Podge
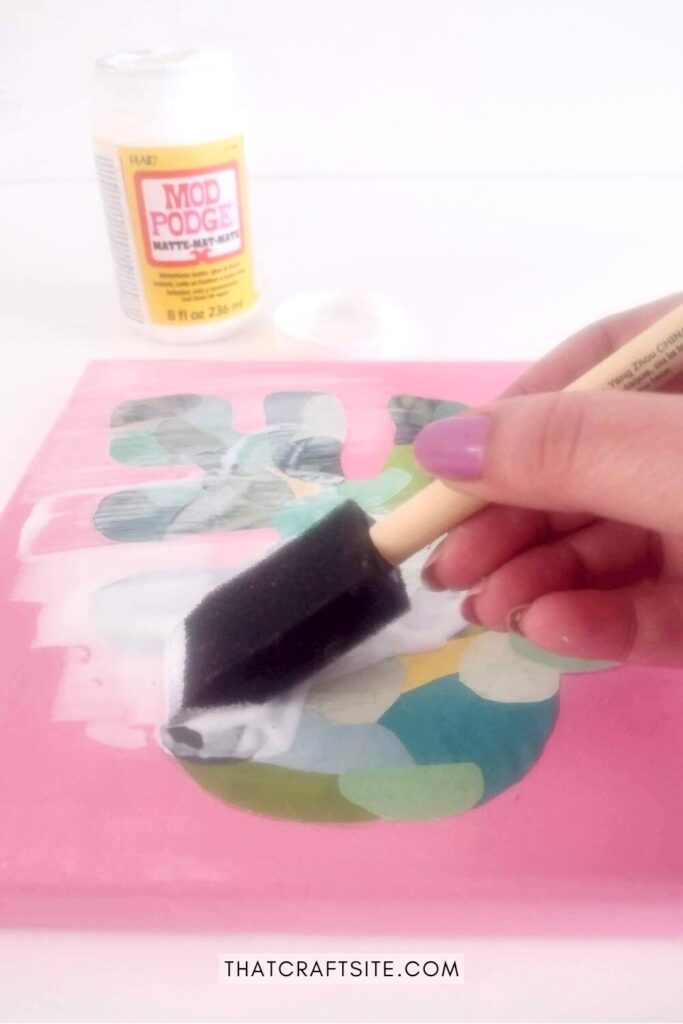
Add a layer of mod podge to seal and protect your collage.
Note: When you apply the Mod Podge it will be white while it’s still wet. But no worries, it will dry clear. You may notice some air bubbles, but these will disappear as the glue dries.
Step 7: Display Your Wall Art
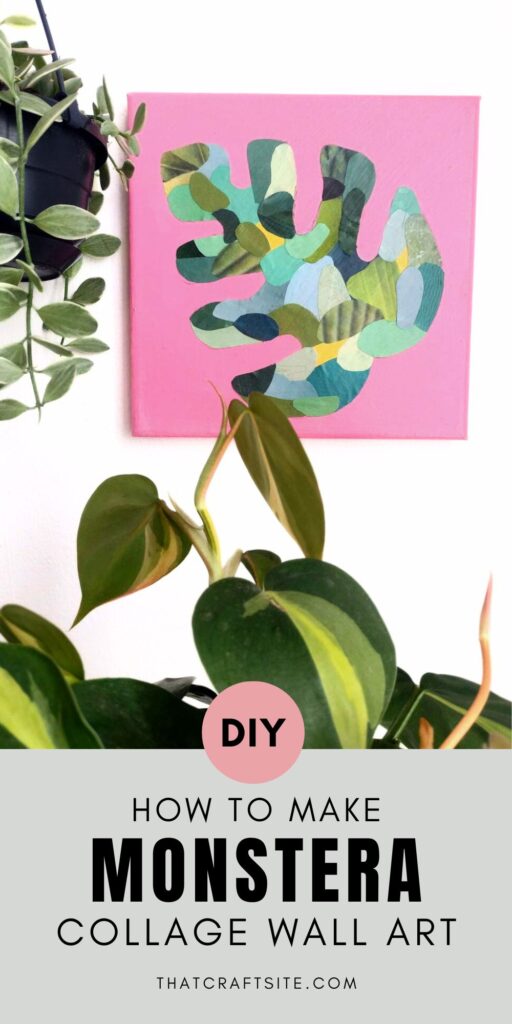
Let the mod podge dry completely before handling or displaying it. Once dry, your paper color collage is ready to be showcased! Hang it on the wall or prop it up on a shelf.
Love it? Pin for later!
Click here for more home decor craft ideas!