THIS POST MAY CONTAIN AFFILIATE LINKS. PLEASE SEE THE DISCLOSURE POLICIES FOR DETAILS.
Make this cute wall hanging to decorate a nursery or as a special way to treasure a favorite lovey when your child grows older.
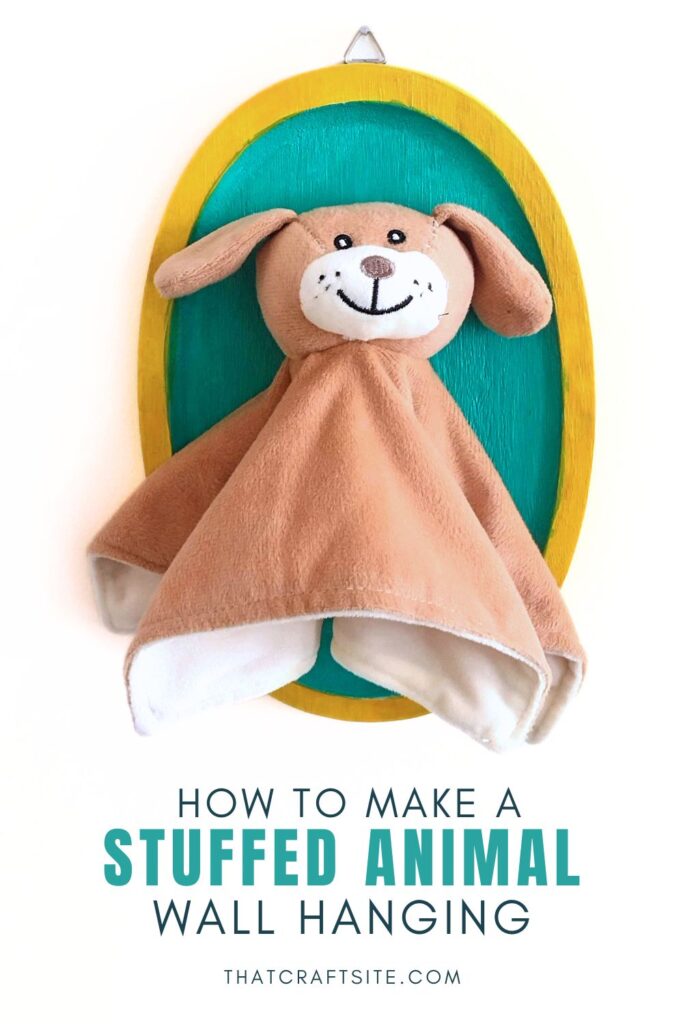
My son did not want any of his old stuffed animals to be hung with hot glue onto a wall plaque. That was a firm no. But he was okay with us picking up a stuffed animal from the take-one-free box at the thrift store. We found this cute dog lovey that was the perfect size for the plaque we had.
How to Make a Stuffed Animal Wall Hanging
Supplies you’ll need:
- Wood wall plaque
- Stuffed animal of your choice
- Primer
- Acrylic paint
- Paintbrush
- Hot glue
Step 1: Prepare The Plaque
Start by preparing your wood wall plaque for painting. If it’s unfinished, you may want to sand it lightly to smooth out any rough edges. Then apply a coat of primer to the plaque.

Step 2: Paint The Plaque
Choose a color that complements the room or the stuffed toy you’ll use for your wall art. My son picked the colors for this project. So that explains the color choices. Let the paint completely dry.

Step 3: Attach the Stuffed Animal to the Plaque
Once the paint is dry, carefully apply a generous amount of hot glue to the back of the stuffed animal. Glue the areas where it will touch the plaque.
Press the stuffed animal firmly onto the plaque. Hold it in place for a few seconds to allow the glue to set. Work quickly so the glue doesn’t cool off and dry before you’ve attached the stuffed animal.

Step 4: Add Hardware
Depending on the wall plaque you started with, you might need to add hanging hardware to the back.

Step 5: Hang Your Plush Toy Wall Art
Once the glue is completely dry and the stuffed animal is securely attached, your plush toy wall art is ready to hang!

Click here for more kids’ craft ideas!
Hello Deb,
Where did you find the cute doggy character, as this would work a different plan I have in mind.
Cheers!
Hi Mike, I just saw your message. I found the dog plush at the free bin at my local thrift store, so that is of no help. Sorry.
I used Google Lens but it only came up with a Dutch online store where it used to be for sale, but currently not available. Hope you found something else that you can use in your project!