THIS POST MAY CONTAIN AFFILIATE LINKS. PLEASE SEE THE DISCLOSURE POLICIES FOR DETAILS.
You have worked hours and finally completed your puzzle. Instead of breaking the puzzle into pieces again, you might want to glue your puzzle together so you can save and display it proudly.
It is really easy to glue a jigsaw puzzle and it is a cheap way to make your own wall art for your home.
I recently found this black and white puzzle at the thrift store. It’s not very large, about 8.5″ x 12″, and just 63 pieces, so this puzzle didn’t take long to complete. I love a good word art map, and it’s the map of Amsterdam, which is my birthplace, so score!

The best PUzzle Glue
There are a few different types of puzzle glue. Over the years, I have tried many of them.
My favorite is the special puzzle glue by Mod Podge. It’s called Mod Podge Puzzle Saver and it is an all-in-one sealant, glue, and finish. It is easy to use, holds the pieces together, and gives a clear finish.
I have used regular Mod Podge to glue puzzles as well, so if that’s what you already have at home and you just want to try it on one puzzle, go for it. You might just want to add some sort of sealant at the end.
Can you use Elmer’s clear glue for puzzles?
Yes, you can use regular Elmer’s glue as an alternative to special Mod Podge puzzle glue. You can make your own DIY puzzle glue by mixing Elmer’s glue with water.
I used this homemade puzzle glue when I first started preserving my puzzles. It was what I had on hand so that was what I used. But I would not necessarily recommend it. In the end, those puzzles curled way more than the ones I now use Mod Podge Puzzle Saver on. It’s all about the water content. The DIY puzzle glue mixture has more water which causes the warping.
Tools needed to Glue and Preserve Puzzles
You don’t need a lot to preserve your puzzles so you can hang them on the wall.
In addition to the glue, you’ll also need something to spread the glue out with. You can use an expired credit card or old store loyalty card.
If you do want to use a brush, skip the bristles. You don’t want to end up with stroke marks. Foam brushes work better.
Once your puzzle is glued, it is wise to mount it on a piece of foam board. This will help to keep the pieces in place over time and prevent your puzzle from curling.
You want to protect your work area or you might end up with your puzzle stuck to your table or just glue marks that you don’t need.
So put a piece of wax paper or parchment paper underneath your puzzle. Extend it a few inches on all sides. Easiest is to start doing your puzzle already on the paper, instead of trying to get the paper underneath after you finish.
What to do if the Glued Puzzle starts Curling
It is no fun, but it can happen. You glued your puzzle and the edges start curling. It could be that you accidentally used a bit too much glue. Or the humidity where you are got a bit high.
There are two things you can do when your puzzle has curled.
Turn the puzzle over and apply a layer of glue on the back. This will usually pull the puzzle flat again when it dries.
Instead, you can also place a heavy object on your warped puzzle for a day or two. Remove to find a flat puzzle.
First timer warning: When you apply the Mod Podge and it is still wet, it will be white. But no worries, it will dry clear. You may notice some air bubbles, but these will disappear as the glue dries.
Continue below for the printable step-by-step guide how to glue your puzzle!

How to Glue a Puzzle to Hang on Your Wall
Don't take your puzzle apart when it's finished. Instead, glue and preserve it to turn it into a wonderful piece of wall art!
Find out how in just a few easy steps.
Materials
- A completed jigsaw puzzle
- Mod Podge Puzzle glue
- White craft glue
- Foam board
- Frame or poster hanger
Tools
- Wax or parchment paper
- Old credit, store loyalty card or foam brush (to spread the glue)
- Rolling pin
- Exacto knife
Instructions
- Before you start, make sure all the puzzle pieces fit nicely and that you have wax or parchment paper underneath your completed puzzle.
Brush any dust from your puzzle and use a rolling pin to make the puzzle as flat as possible.

- Pour the glue on top of the puzzle and use an expired card or foam brush, to spread the glue around evenly. Like you are grouting tiles.

Do not put on too much glue at once. This can saturate your puzzle so much that it could swell or curl. Make sure to get in between and cover all pieces. And don’t forget about the edges. - Allow the puzzle glue to completely dry. Depending on the type of glue you use, it can take up to 4 to 5 hours to fully dry.

- Gently lift your puzzle and remove it from the paper.


- Place the puzzle on the foam board. Use an Exacto knife (be careful!) and cut the foam board around the puzzle’s edge.

- Take the puzzle from the foam board, and place it face down on wax paper. Apply craft glue across the entire back of the puzzle. Spread it out evenly.

- Line up the edges of the foam board to the puzzle. Use your rolling pin to press down. Let it dry completely.

- Decide how you want to hang your puzzle. you can stick it in a frame. (Remove the glass if the puzzle is too thick to fit.)
I put on an adhesive picture hanger on the back. You could also use something like 3M picture hanging strips. That way you don’t even need a nail in your wall.
- Hang your puzzle and admire your work!
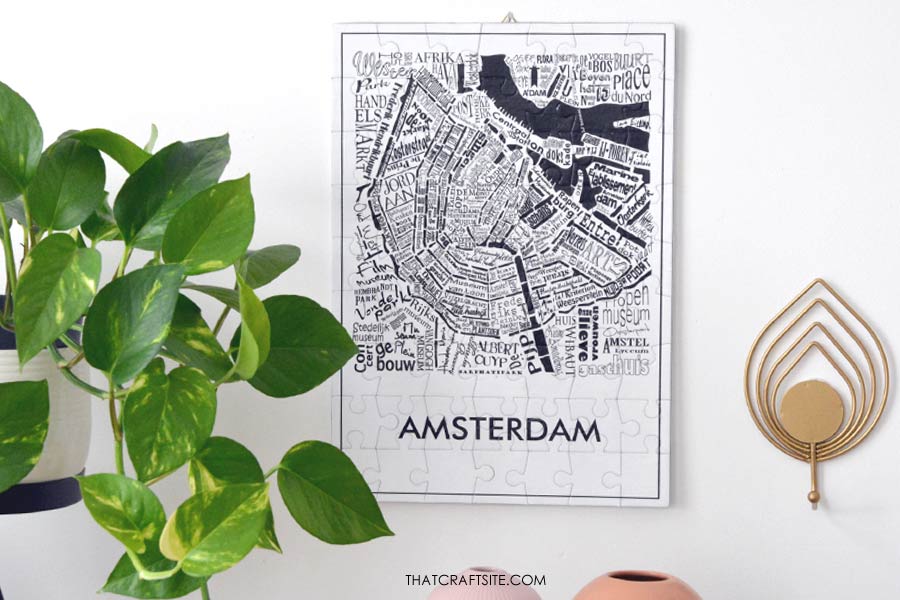
The puzzle I’ve used here is a limited edition promotional giveaway from the puzzle maker. So this specific one is hard to come by, but there are many, many great puzzles for sale on Etsy and Amazon. Find one that matches the decor of your home and get it up the wall!

How do you keep the puzzle from sticking to the parchment paper or wax paper?
Hi Dona, It will stick a little bit if some glue seeps through the puzzle pieces, but not in a way that you won’t be able to lift it off the paper anymore. I never had a problem removing the paper. Hope this helps!
how to put the puzzle on some parchment or waxed paper after it is completed?
Hi Jessie!
The easiest way we have found to put a completed puzzle on parchment paper is this:
1. Make sure your completed puzzle is on a large, clean, flat surface.
2. Place the parchment paper below the puzzle and tape the top edge (the edge directly below the bottome edge of the puzzle) of the paper down to the surface with removable paint tape like Frog Tape.
3. Use your fingertips or a yardstick on the top edge of the puzzle and gently push/slide the puzzle over the taped edge of the parchment paper. Easy peasy! 🙂
Hope this helps!