
THIS POST MAY CONTAIN AFFILIATE LINKS. PLEASE SEE THE DISCLOSURE POLICIES FOR DETAILS.
Make this framed yarn wall hanging and add some bohemian charm to your home! This easy DIY project is perfect for adding texture and color to any room.
I am so excited to show you how to make your own beaded yarn wall hanging. You only need a little time (not much) and a few simple supplies (budget-friendly!).
You can use one color yarn or mix and match different colors and textures.

I love pretty yarn wall art and I have spent many hours on my weaving loom making woven wall hangings. But if you want to make something quick, this is a great simplified version!
Yarn Wall Hanging Step-By-Step Tutorial
Supplies you’ll need:
- Picture frame (choose a size and color that fits your space)
- Yarn
- Scissors
- Beads (optional)
- Crochet hook (for adding beads, if desired)
Step 1: Prepare Your Frame
Start by removing the backing and glass from your photo frame. Set them aside, you won’t need them for this project.

Step 2: Measure and Cut Yarn
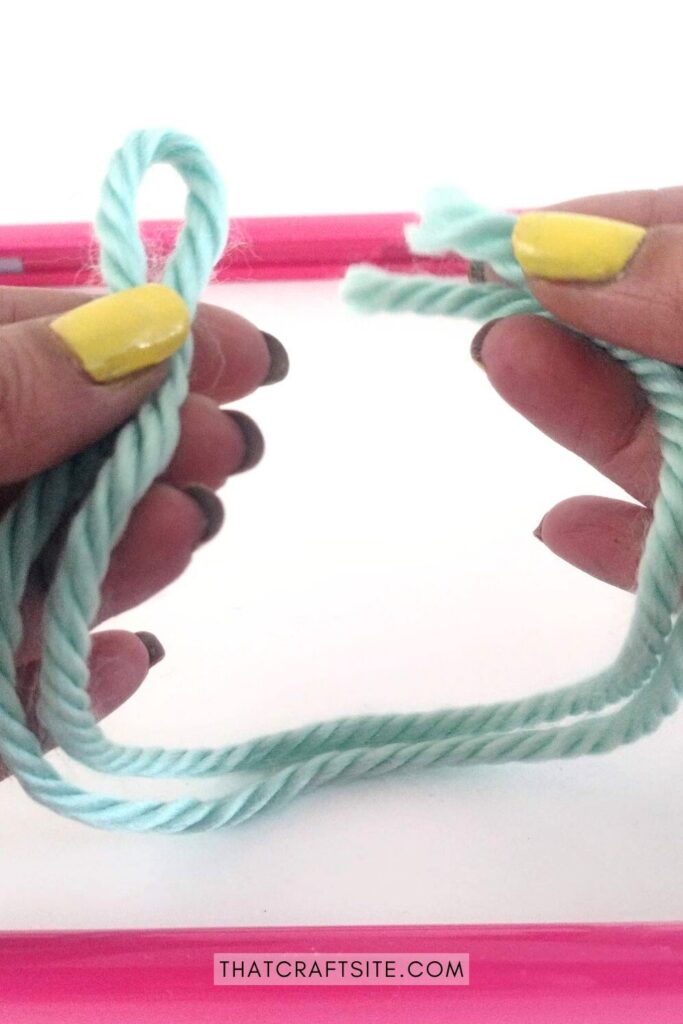
Start by measuring the length of your yarn, making sure it’s double the length of the frame. Add a little extra for wrapping the yarn around the top of the frame as well. Once you’ve determined the length needed for each strand, cut multiple pieces of yarn in various colors.
Step 3: Tie the Yarn to the Frame
Take one strand of yarn and fold it in half. Loop the folded end around the top of the frame and pull the free ends through the loop to create a knot. Pull tight to secure the yarn to the frame.


Continue tying pieces of yarn to the frame, spacing them evenly apart, until the entire top edge of the frame is covered.

Step 4: Add Beads (Optional)
For an extra decorative touch, you can add some large beads. Use a crochet hook that fits through the center of the bead. Put one of your beads on it. Use the hook to pull a thread of the yarn through the bead, and voila!
Depending on your yarn and the size of the bead, it will fit snuggly and stay in place. If the bead slides down, you can make a small knot on the yarn underneath each bead to secure them in place.

Step 5: Trim Excess Yarn
Once all of your yarn strands are attached to the frame, and you added beads where you want them, cut and trim the bottom of each strand. You can trim the yarn into straight lines or varying lengths for a cascading effect.

Step 6: Hang and Enjoy!
Now that your framed yarn wall hanging is complete, it’s time to find the perfect spot and hang it on a nail or hook securely attached to the wall.
