
THIS POST MAY CONTAIN AFFILIATE LINKS. PLEASE SEE THE DISCLOSURE POLICIES FOR DETAILS.
Let’s transform a simple wooden tray into a stunning piece that’s both functional and stylish. Follow along with my step-by-step guide how to make a fabric lined serving tray.
Decoupage is often done with napkins, but you can use fabric to decoupage as well! It’s even easier to smooth out wrinkles on a large area from fabric than paper.

How to Make a Fabric Lined Serving Tray
Supplies You’ll Need:
- Unfinished wood serving tray
- Mod Podge (or any decoupage glue)
- Fabric (for lining the inside of the tray)
- Acrylic paint (optional, for painting the sides of the tray)
- Foam brush
- Scissors
Step 1: Paint the Tray (Optional)
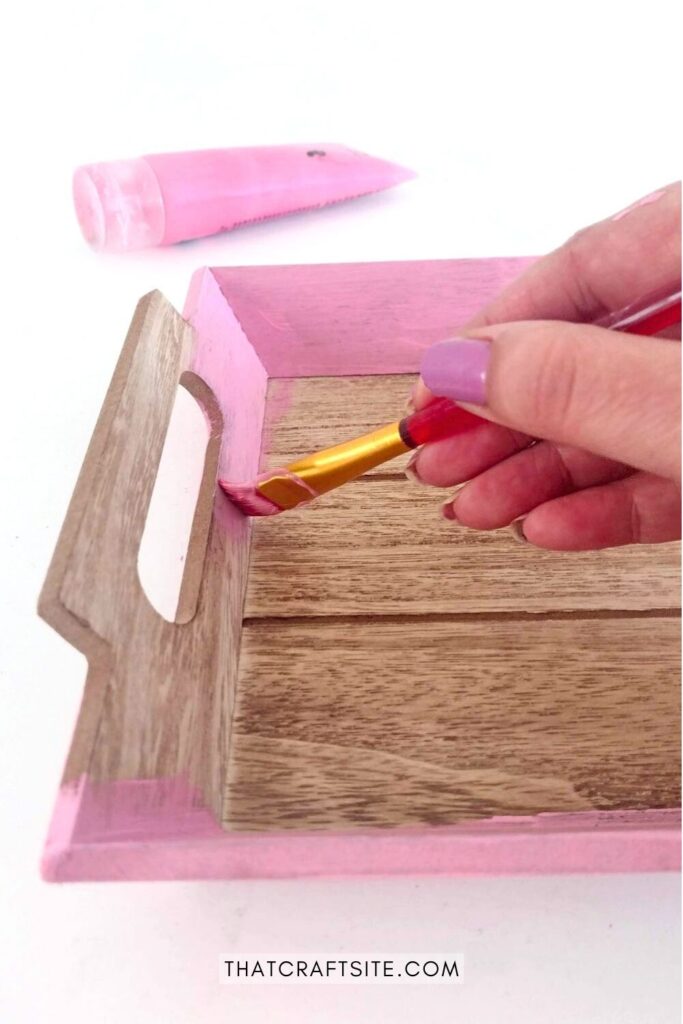
If you’d like to add a pop of color to the sides of your tray, now is the time to paint it. Choose a paint color that matches your fabric. With a paintbrush paint the sides of the tray. Let the paint dry completely before moving on to the next step. You might need to do two coats to get an even color.
Step 2: Measure and Cut the Fabric
Measure the inside of your wood serving tray and cut your fabric to fit. Be sure it’s a snug fit.

Step 4: Apply Mod Podge
Using a foam brush, apply a thin layer of Mod Podge to the bottom of the tray where the fabric will be. Make sure to cover the entire surface evenly.

Step 5: Attach the Fabric
Gently place the fabric onto the layer of Mod Podge in the tray, smoothing out any wrinkles or air bubbles as you go. Press down firmly so the fabric sticks well to the tray.

Step 6: Seal with Mod Podge
Once the fabric is in place, apply another layer of Mod Podge over the top to seal it and protect it from wear and tear.

Step 7: Let it Dry
Allow your decoupaged serving tray to dry completely before using it. This may take at least a few hours, so be patient and resist the temptation to touch it until it’s fully dry.
